POP Projects is a collection of new and classic projects from more than a century of Popular Mechanics. Master skills, get tool recommendations, and, most importantly, build something of your very own.
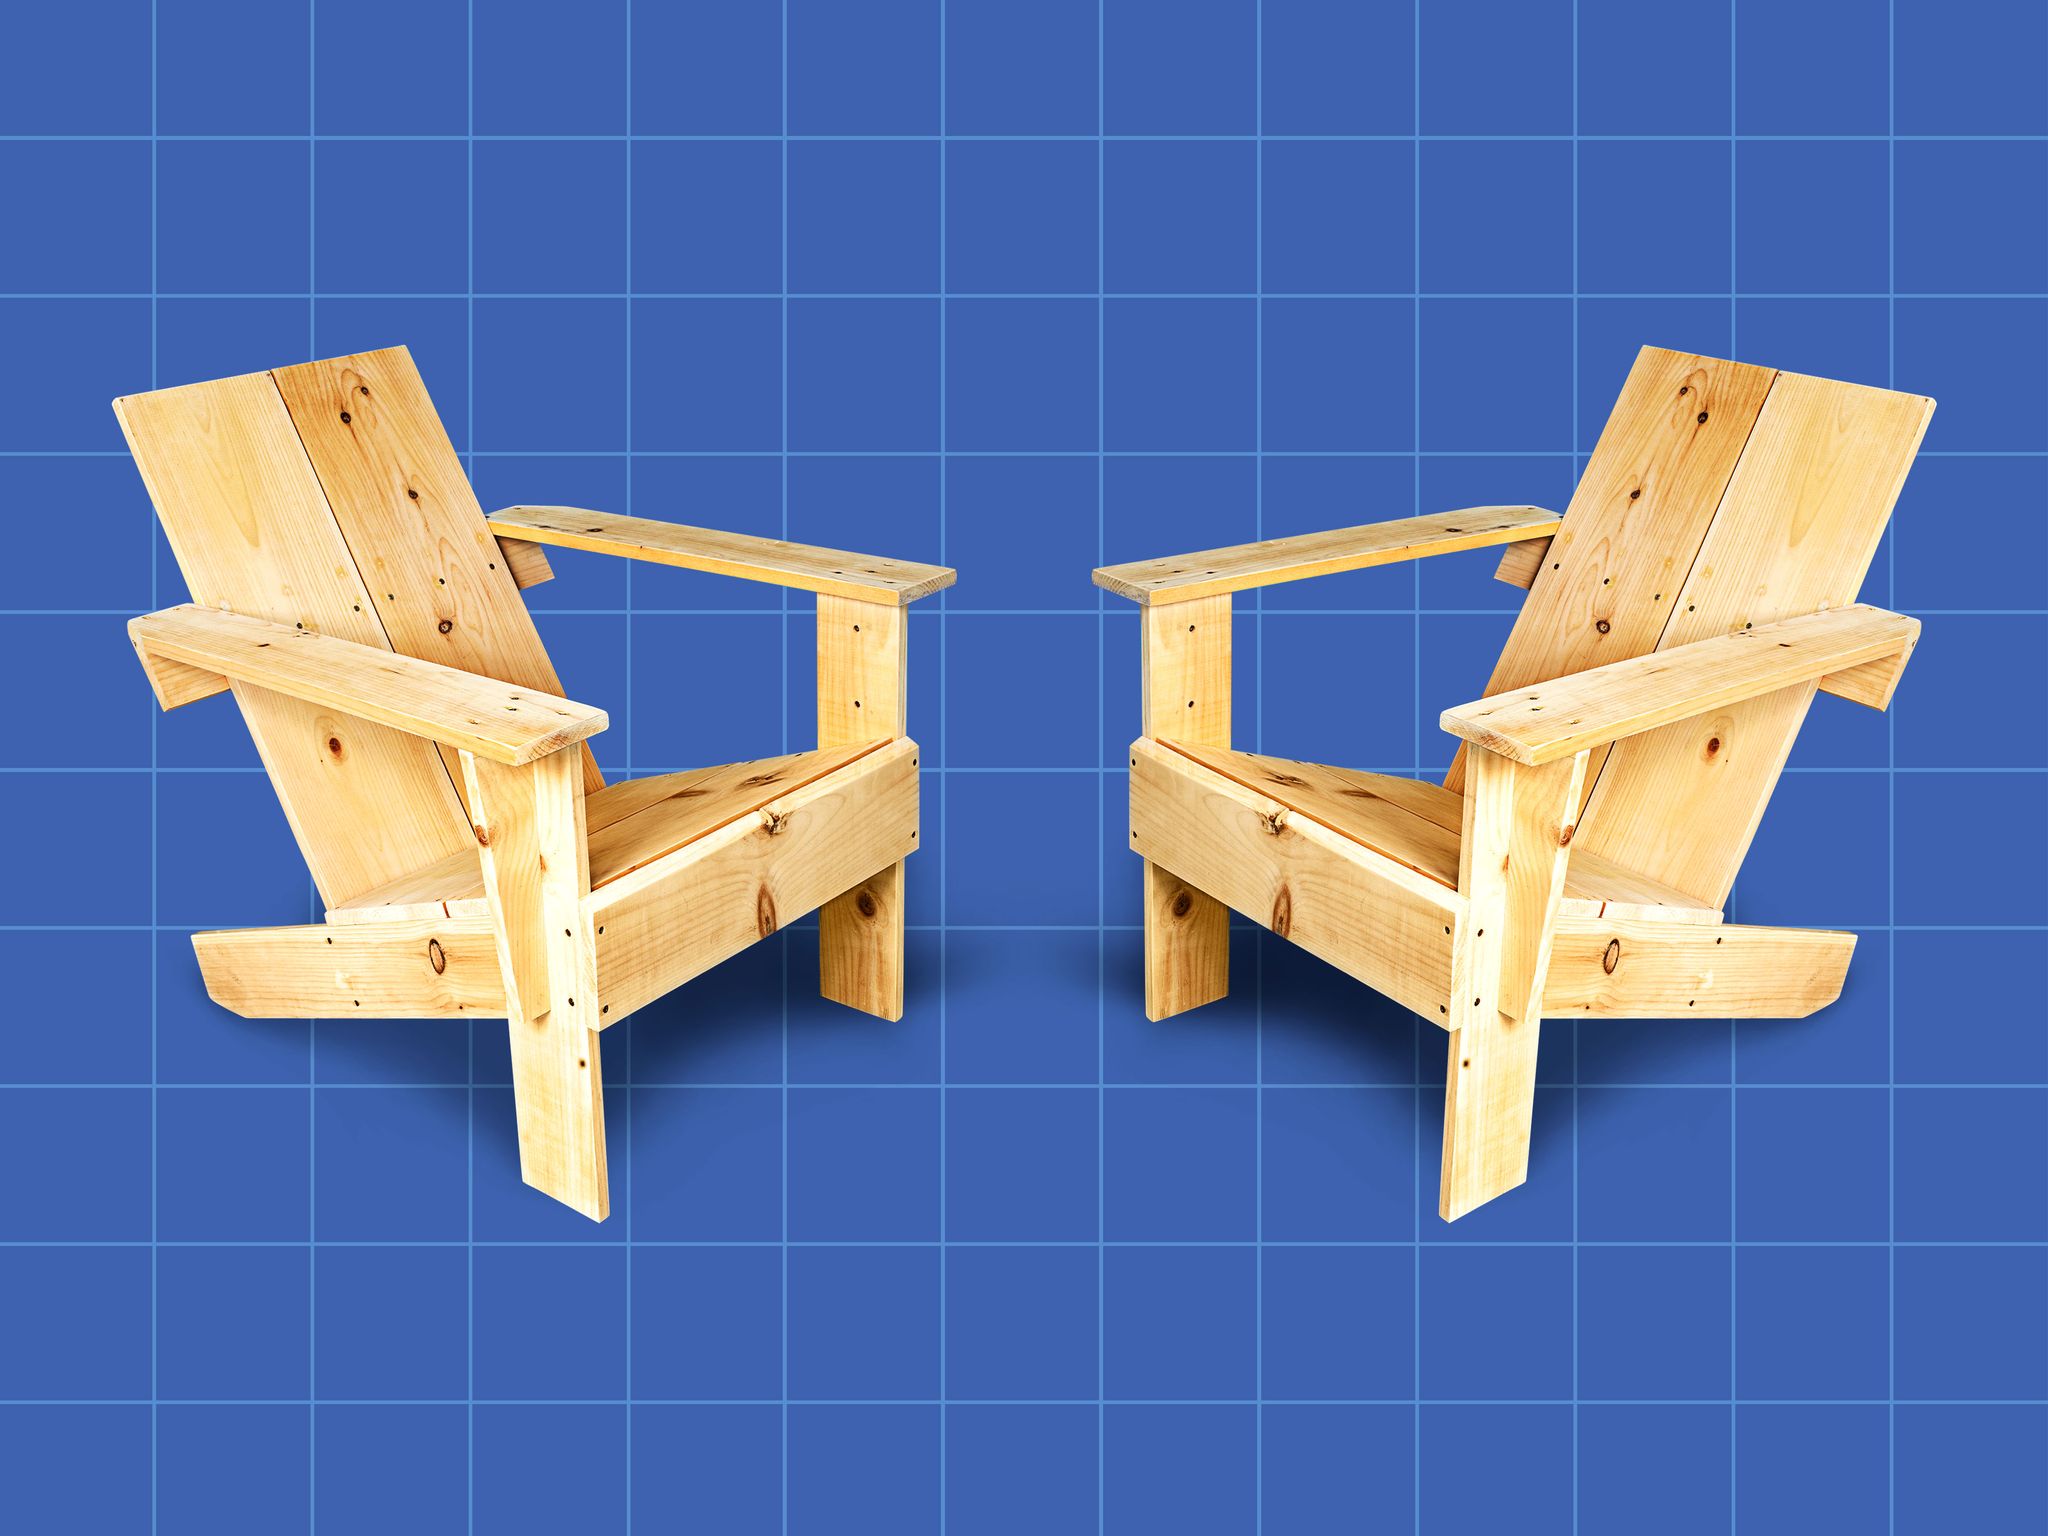
A lawn is meant as a place for relaxation, and for that you need a good chair. But why buy one when you can build one? Here's something you can build that doesn't require access to a $25,000 CNC machine. In fact, you'll need little more than a circular saw and a cordless drill.
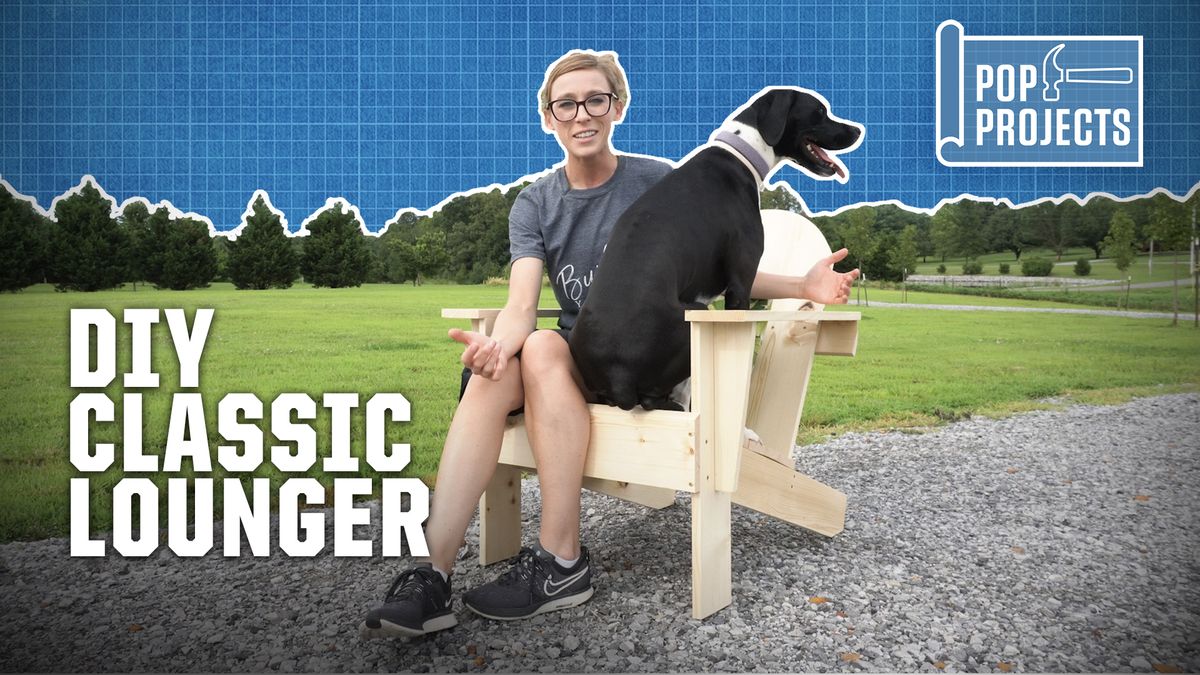
Watch How It's Done
Shara McCuiston of Woodshop Diaries teaches you how to build your very own classic lounger.
This design is based on the rustic-but-comfy Westport plank chair, which evolved into today's Adirondack chair. Thomas Lee built the original in 1903 while on vacation in Westport, New York, in the Adirondack Park. Legend has it Lee used a single board from a pine tree he felled on his property. It must have been a big slab; most Westport plans require around four 10-inch-wide boards.
But in keeping with the spirit of the legend, you can build this chair with just two 1-inch x 10-inch x 10-foot pieces of lumber. It should take you a couple of hours.
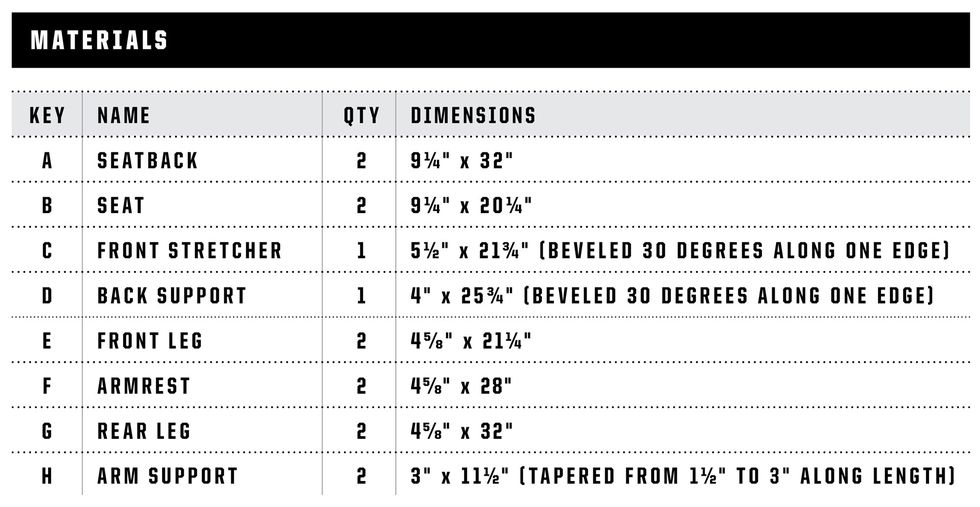
First, the Materials...
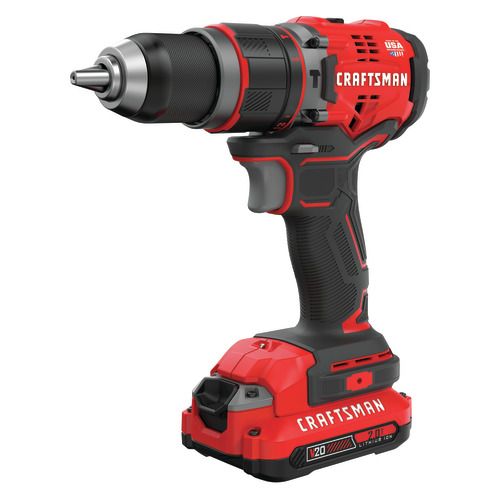
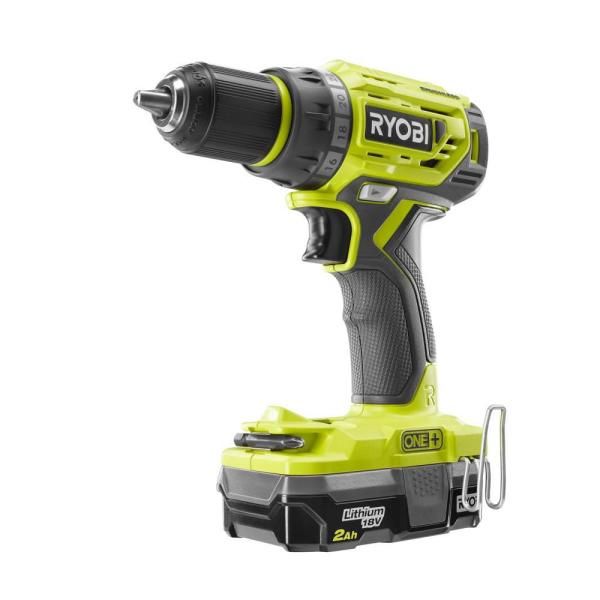
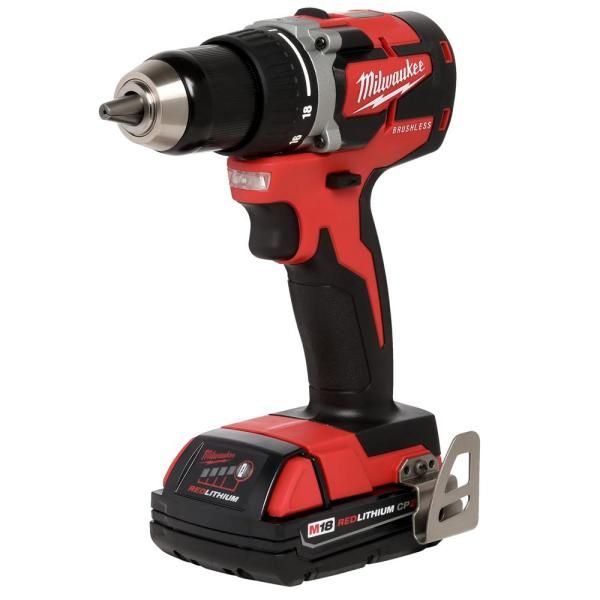
Next, The Tools...
Now, Buy the Right Boards
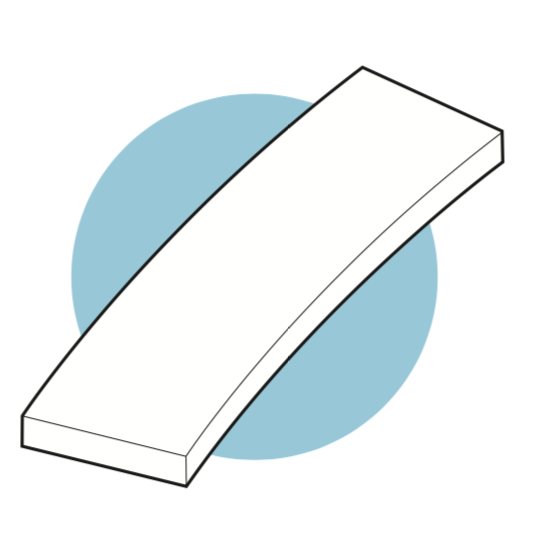
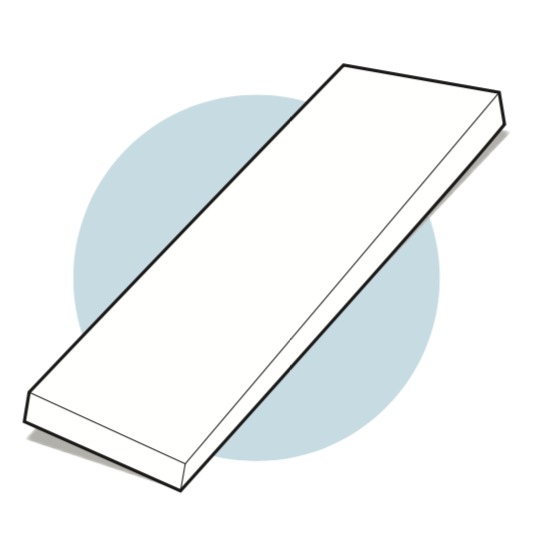
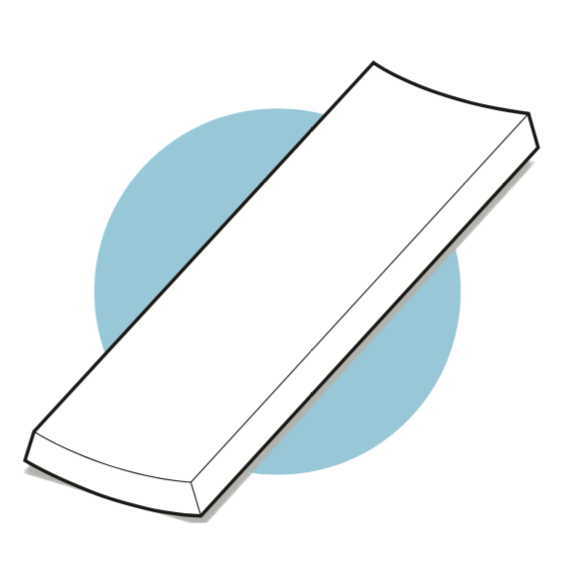
To check for bows, crooks, and twists, place one end of the lumber on the ground and hold the other at eye level. close one eye, and sight down the board to look for warping.
If you’re cutting the lumber into smaller pieces, you can get away with slightly deformed boards. otherwise, avoid anything warped 1⁄2 inch or more over a 10-foot length.
Then, Start Cutting Your Boards...
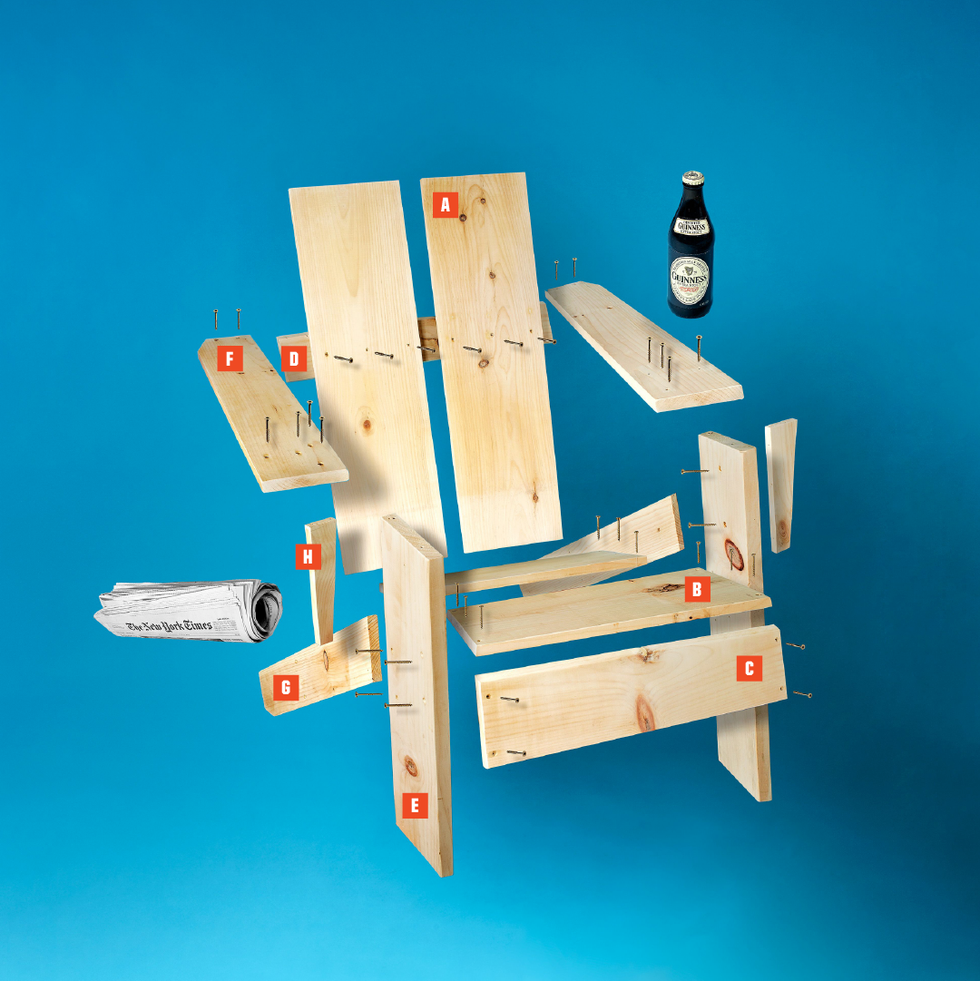
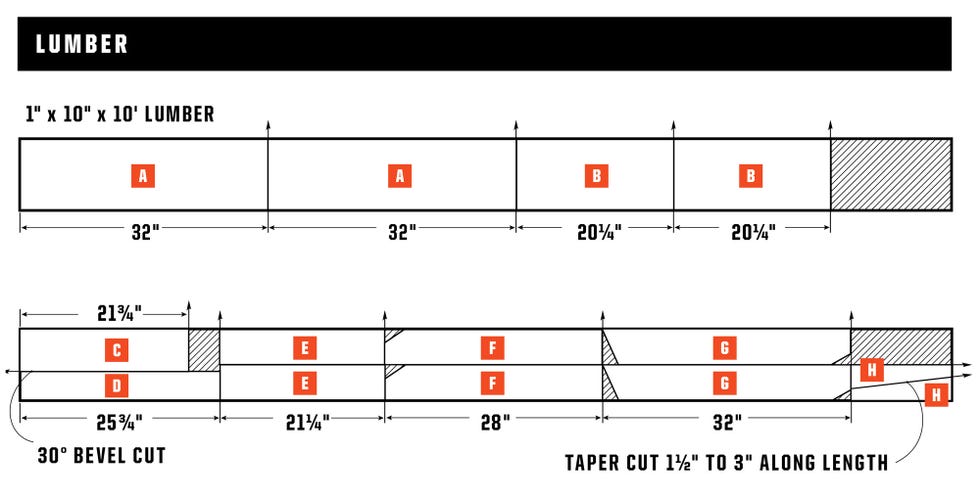
As with most furniture projects, first cut out all the parts from the lumber. You'll then build subassemblies that combine to create the chair.
To make the narrower parts, it's more efficient to rip the entire board in one pass and then chop the pieces to length. But before you do, cut off a full-width piece measuring 25¾ inches. This isn't ripped in half; more on that later.
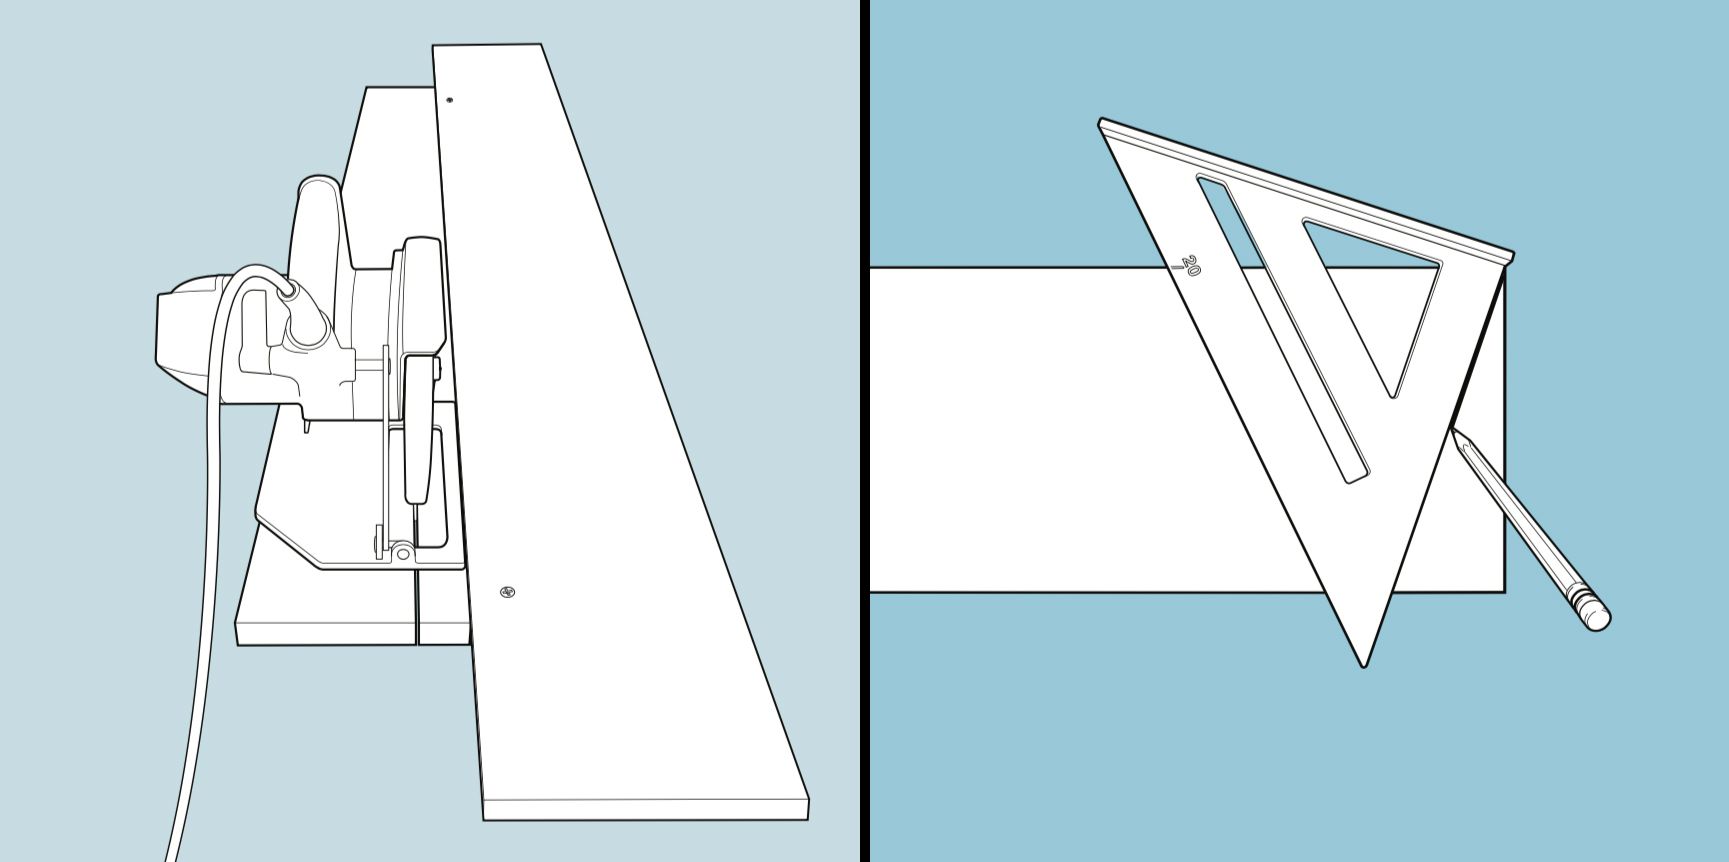
Rip the remaining piece down the middle so you're left with two boards a little under 4⅝ inches wide. To keep your cut line straight, use the other 10-foot board as a guide. Position this guide on top of the board so your saw's base plate runs along the guide's edge but the blade cuts through the middle of the board. For most saws that means setting the guide 1½ inches off-center. Attach the guide with a couple of screws; you can cut around the holes later.
Grab the piece you cut off the first board and rip it to 5½ inches at a 30-degree bevel. If you need a guide, clamp one of the armrests to the board. The wider piece is the front stretcher; the other is the back support.
Mark a 20-degree cut on the front end of each rear-leg blank. Place the pivot point of a rafter square on the top corner of the leg, and turn it clockwise so its 20-degree mark lines up with the edge of the board. Cut along the line. On the back end of the leg, cut a 3 x 1–inch triangle off the bottom corner.
Create both arm supports with a single tapering rip. Mark the line, clamp the blank to a work surface, and carefully make the cut.
Finally, Put It All Together.
I like to clamp parts together before I fasten them. That stops the pieces from slipping as I drive the screws. It's like having an extra set of hands.
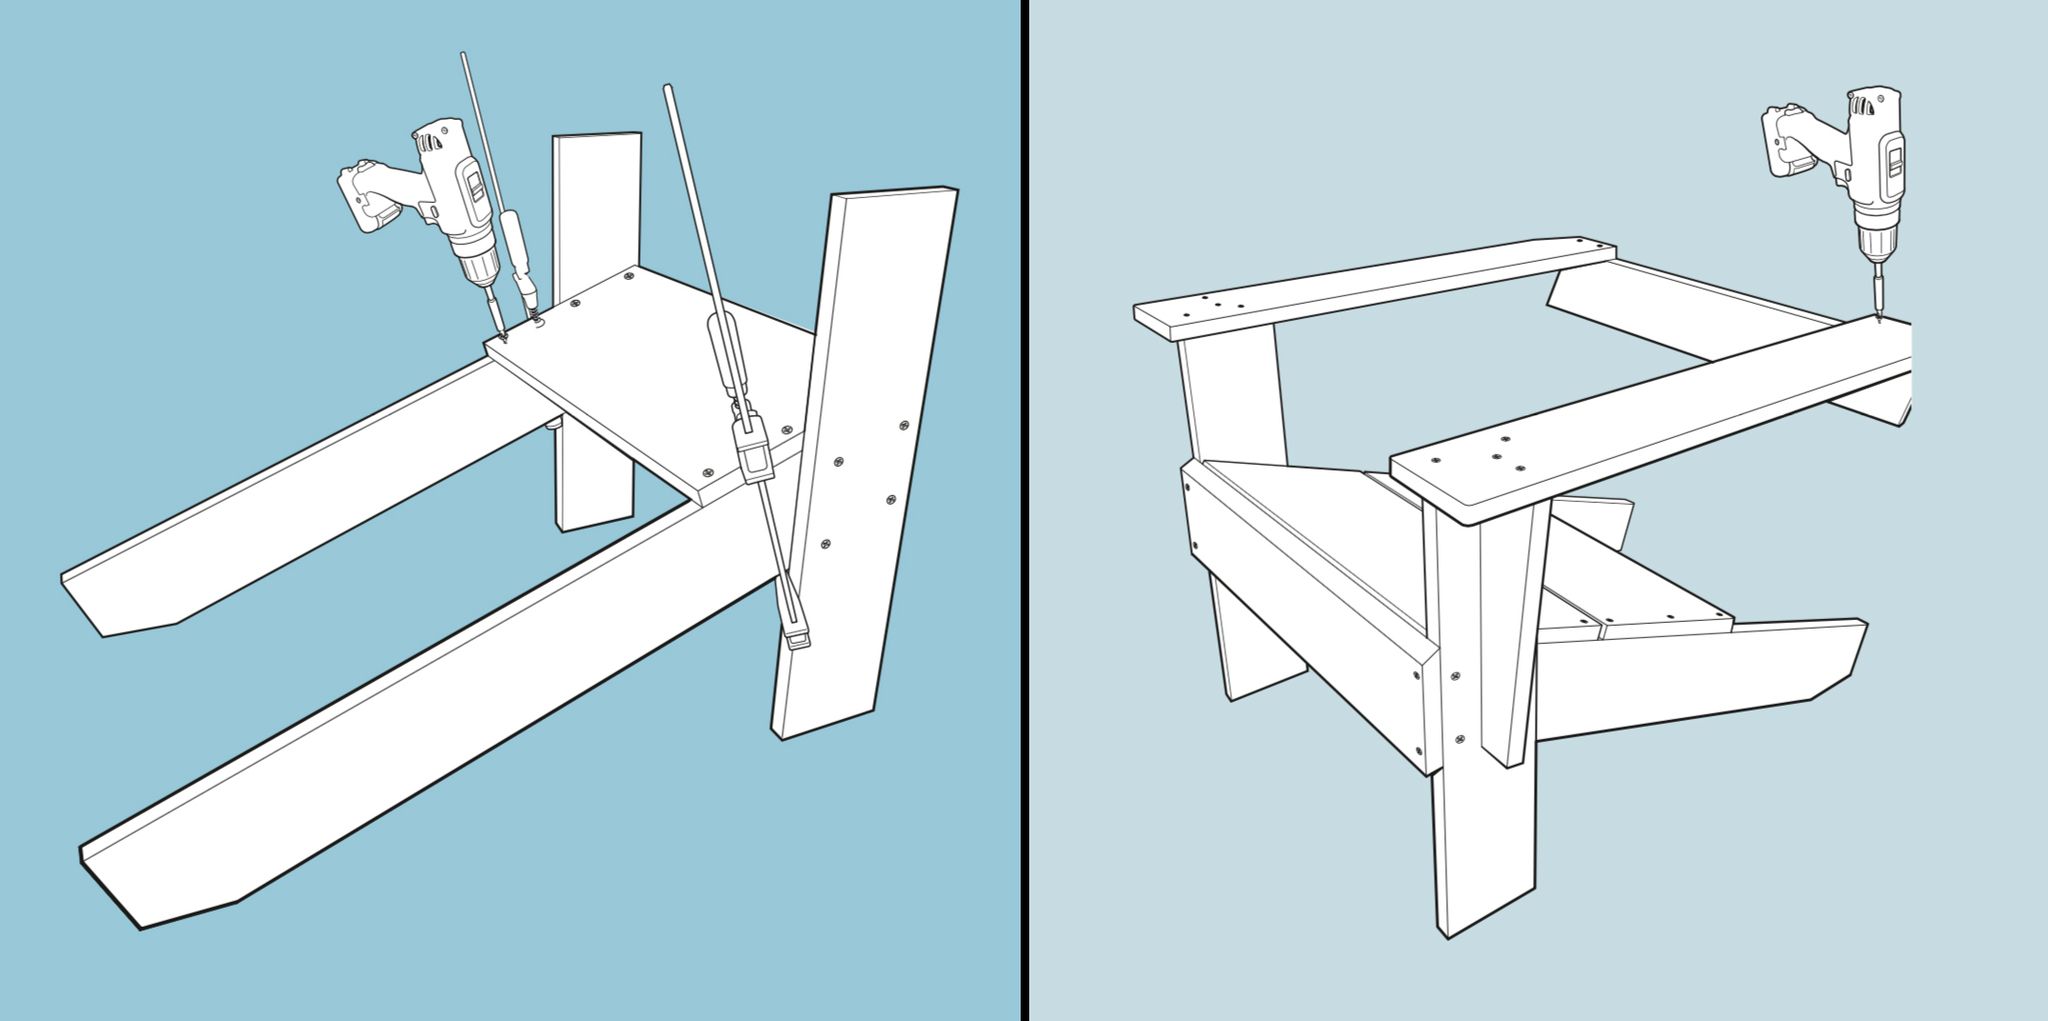
Build the leg subassemblies. Attach each front leg to a back leg so that the top corner of the back leg is 14 inches off the ground. Hold a rafter square at 20 degrees against the edge of the front leg to ensure it's fastened at the correct angle. Attach with four screws.
Fasten the seat parts to the leg sub assemblies. Set the front edge of the seat flush with the top corners of the rear legs, and keep a ⅛-inch gap between the two seat boards. Attach the front stretcher so its beveled edge slopes downward. Don't drive screws into the end grain of the rear legs but into the side grain of the front legs, where they'll hold better.
Fasten the tapered arm supports to the front legs, and attach the armrests so they overhang ¾ inch at the front and on the inside of the front legs. Drive two screws into each front leg, and two into each arm support.
Attach the back support, beveled side up, to the armrests. They should be spaced 18¾ inches apart with their ends flush with the outside of the back support. Keep the assembly square. Drive a couple of screws through each arm and into the back support, taking care not to blow out through the workpiece.
Install the seatbacks by driving two screws through each rear leg and three screws through each seatback and into the back support. Don't go too deep or you'll punch through the other side.
Finish the chair by trimming off the back outer corners of the armrests.
Shara McCuiston is a former industrial engineer turned full-time woodworker, creator, and author behind the woodworking/DIY website and YouTube Channel, Woodshop Diaries.

