POP Projects is a collection of new and classic projects from more than a century of Popular Mechanics. Master skills, get tool recommendations, and, most importantly, build something of your very own.
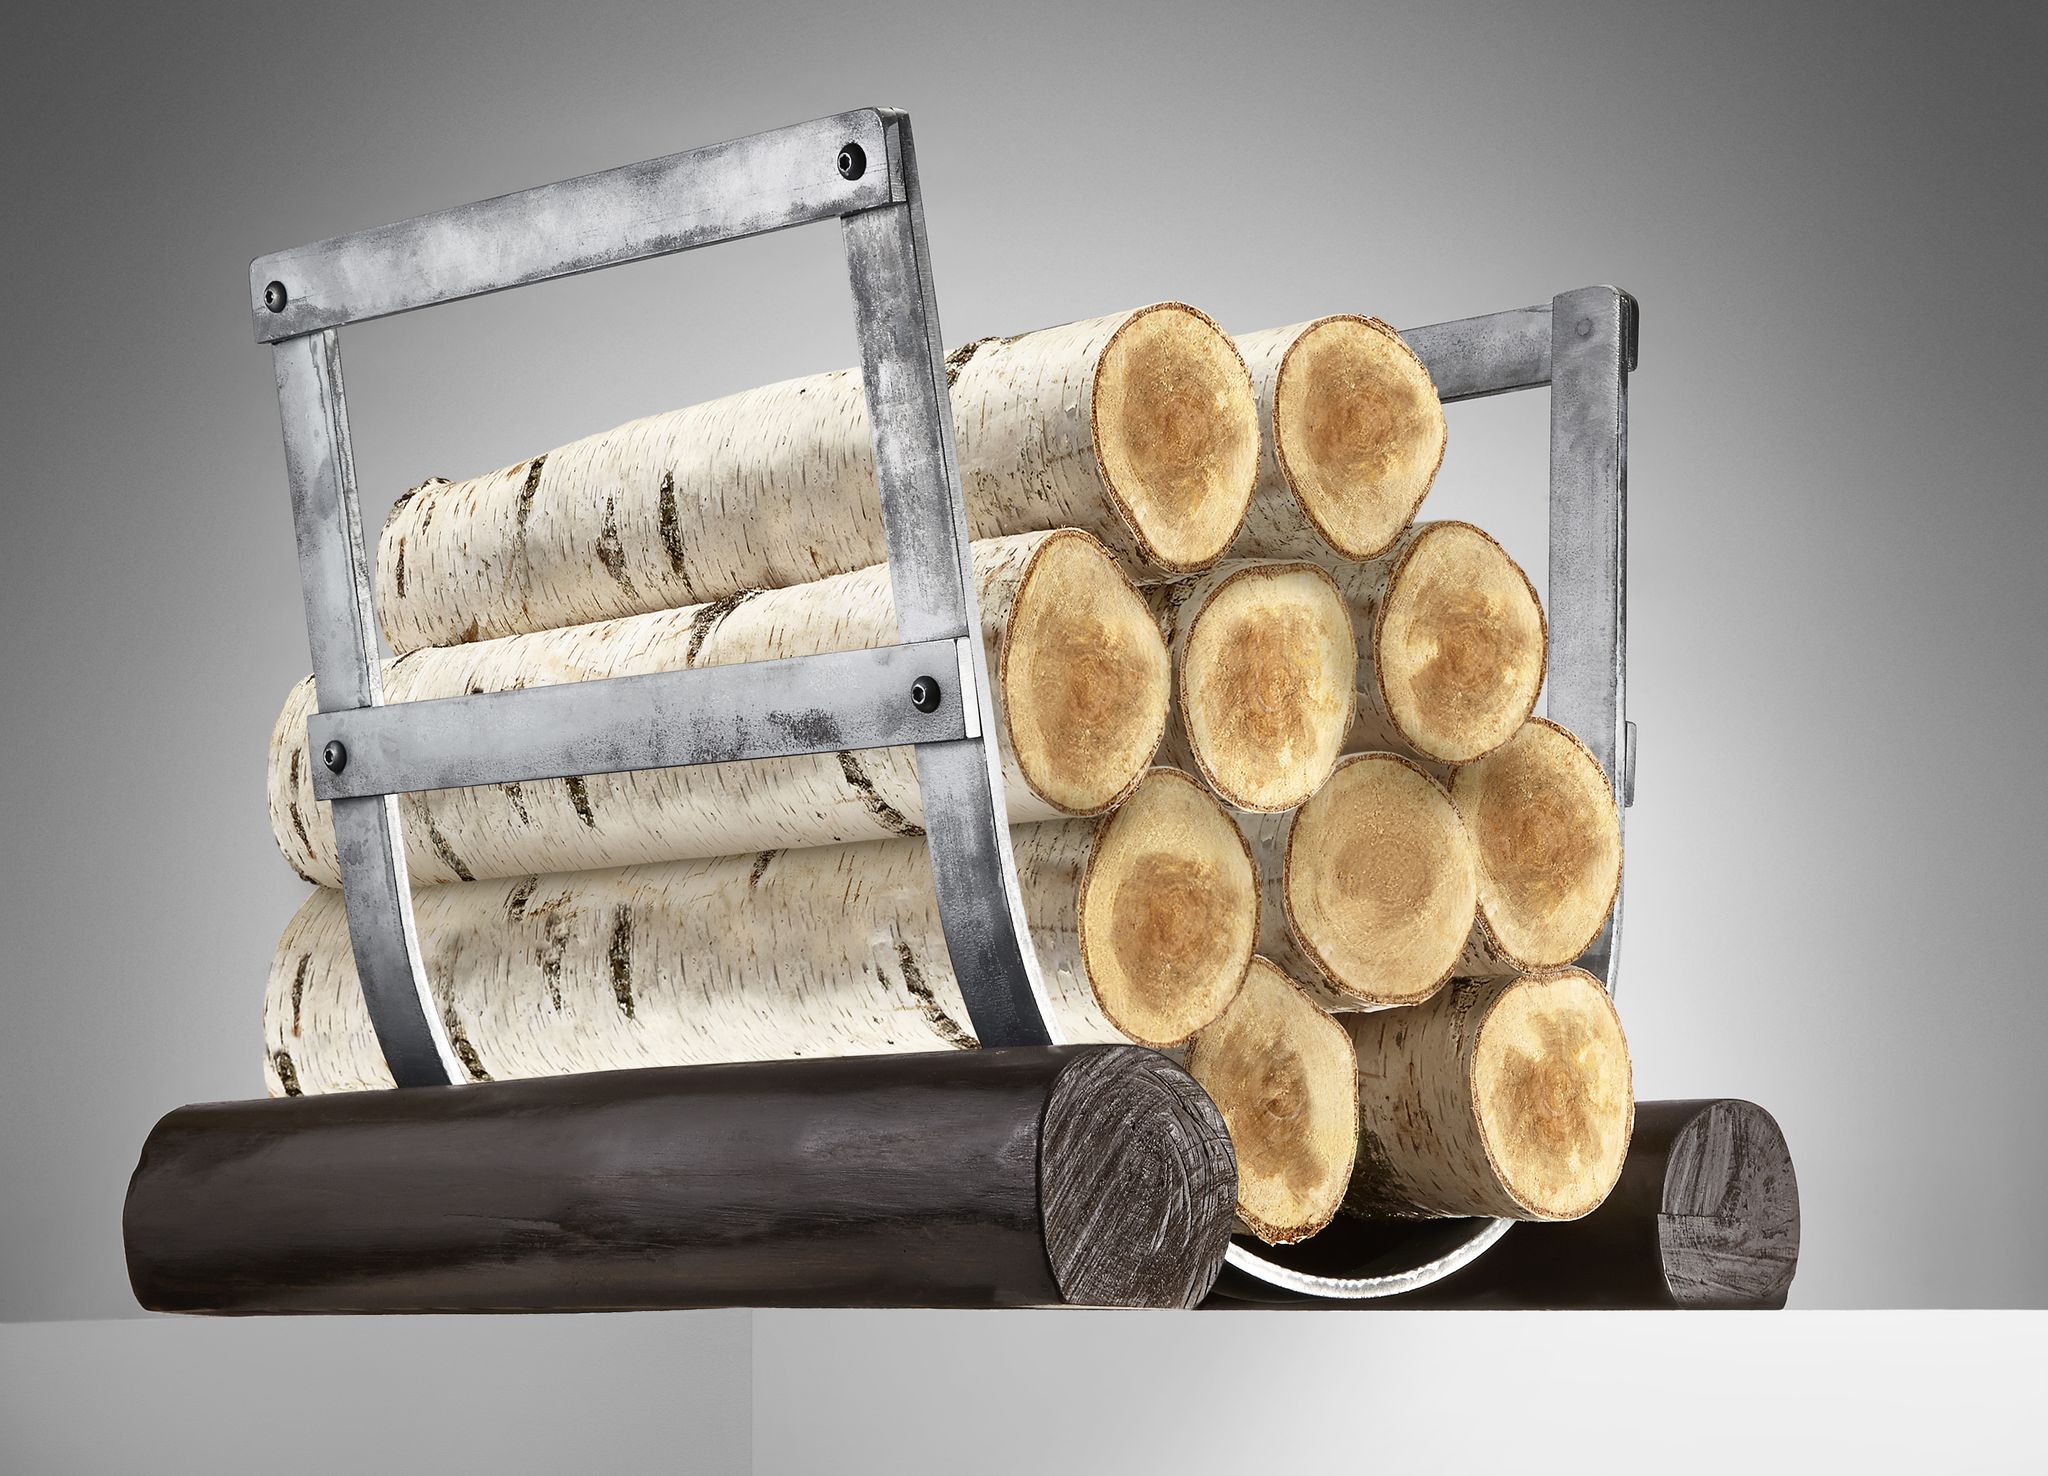
Man, it's chilly. What kind of weather we got out here, a blizzard? Why don't you reach into that log rack, pull out a split, and start a fire for us? Why, yes, thank you, it is a nice log rack.
We built it out of a poorly located maple tree and a pile of raw steel. Added a little wood stain but left the screws and the metal unfinished so it would look utilitarian. Not so utilitarian that it's out of place in an elegant room, but, you know, a little rough. Brawny. It's a piece of furniture that says, I could navigate a toolshed in the dark but couldn't find my way around a Bed Bath & Beyond with an iPhone, a compass, and a map.
This, it should be noted, is an impressive feat for furniture.
These Tools Will Help
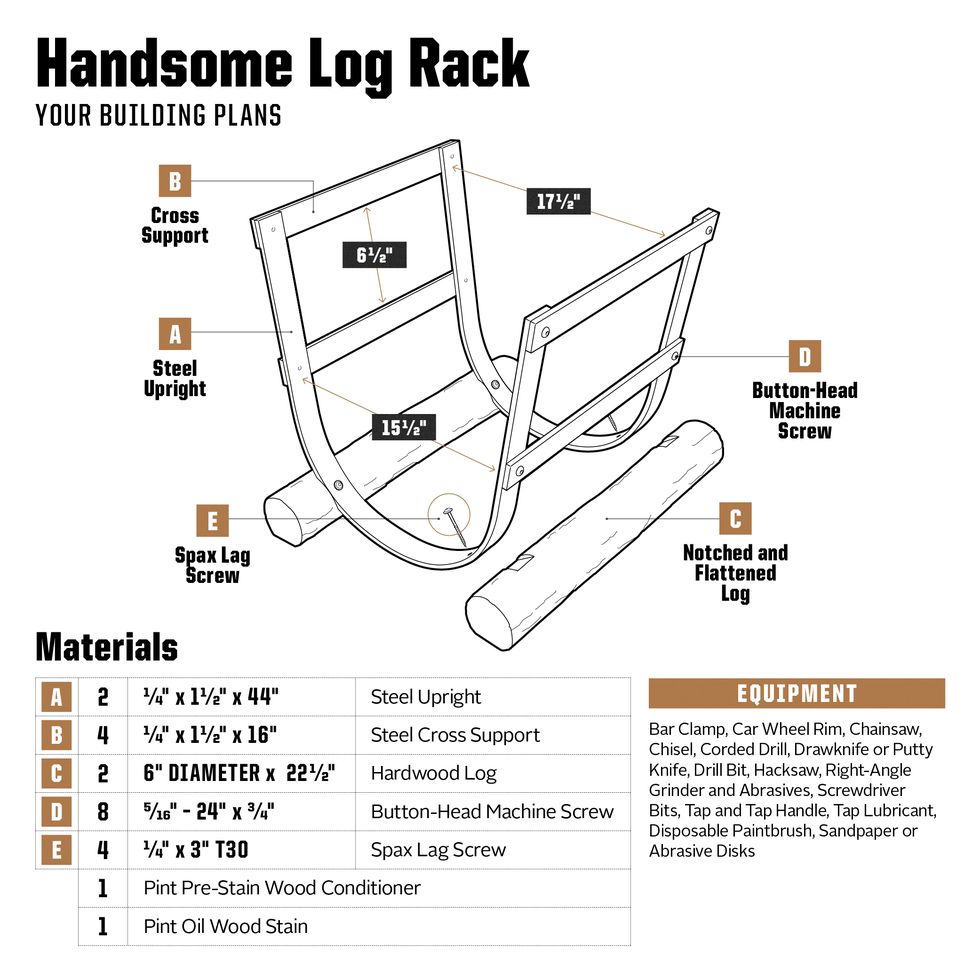
Plans and Materials
Bend the Uprights
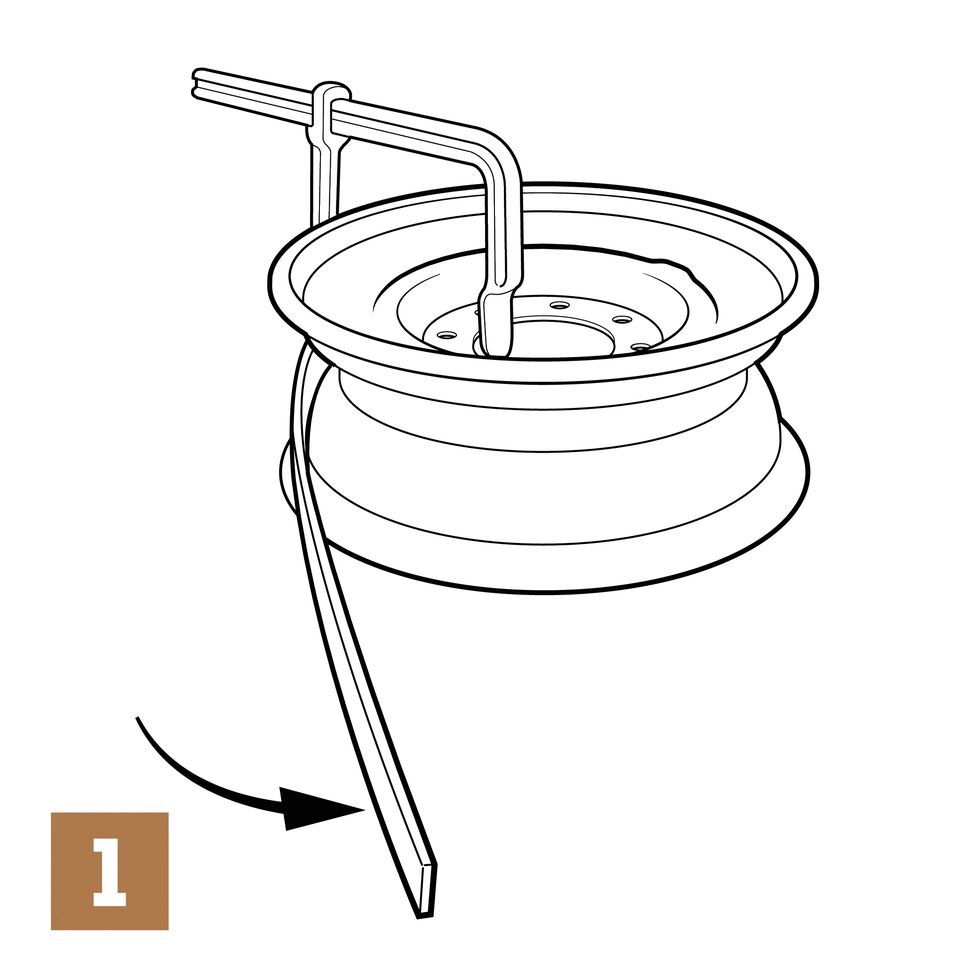
First, find a friend. To make the uprights that will hold your firewood, you'll need to bend two pieces of 1 1/2-inch x 4-foot flat steel, which you can buy at home stores or at metalsdepot.com, into U shapes, and you can't do it alone. Using a bar clamp, arrange the first piece of steel next to an old tire rim so that it looks like a P [1].
Now clamp the rim in a big bench vise. Have your friend yank the long end of the steel around the curve. As it starts to come around, grab the bar and pull while your friend pushes. Once the steel is roughly U-shaped, remove any unevenness: Clamp the U in a bench vise and sight down the side to check for any vertical twisting. Use your hands to bend that out.
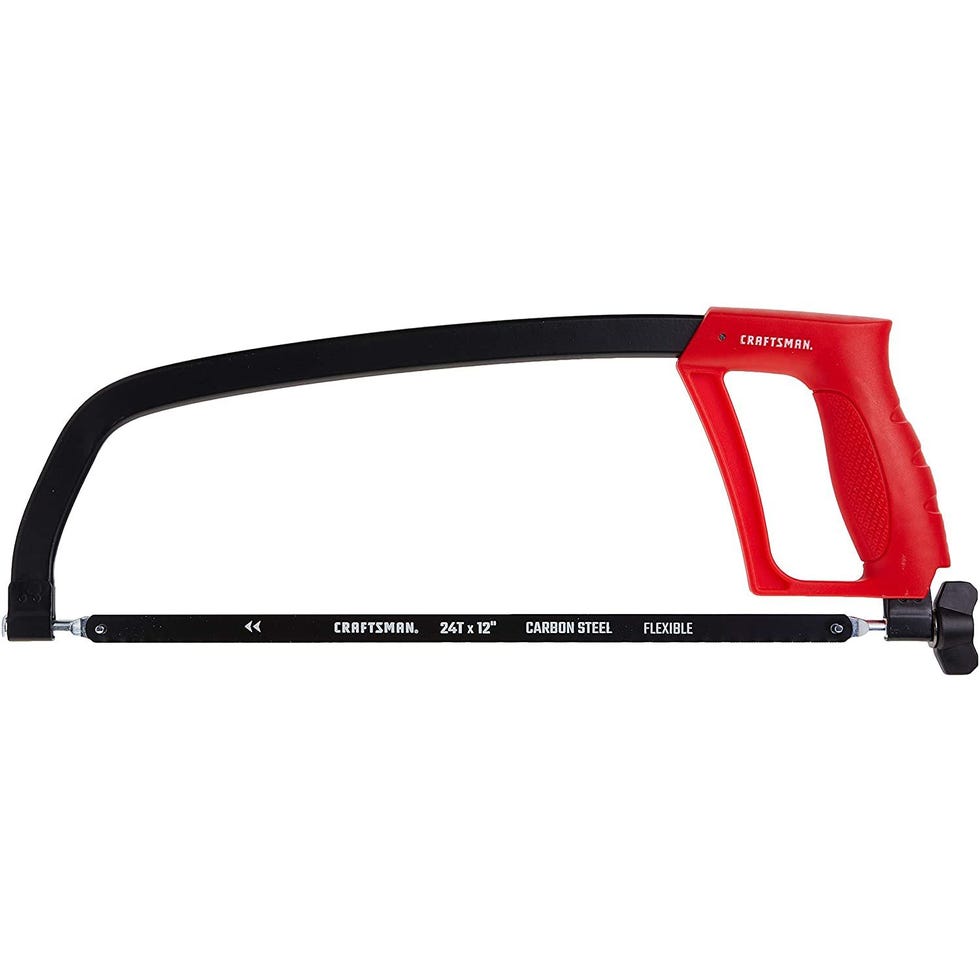
Next, cut both ends of the U so that they're even [2]. Use a hacksaw or a circular saw with a metal-cutting blade. Now repeat this whole process for the other U. Next, cut the four cross supports to length and bore 5/16-inch bolt holes into both ends of each. Use those holes to mark the position of the holes in the upright legs of the Us. If you have a letter-size drill-bit set, use the I-size bit; otherwise, use a 17/64 fractional-size drill. Add threads to these holes with a 5/16-inch-24 tap and a large tap-wrench handle [3].
💡 Don't skimp on the lubricant when adding threads to the holes for the machine screws. Lack of lubricant can result in a stuck or broken tap.
Create the Log Base
Gently assemble the rack, lining up the parts with a carpenter's rafter square. Don't tighten the machine screws yet. You'll need to take everything apart to deburr it before final assembly.
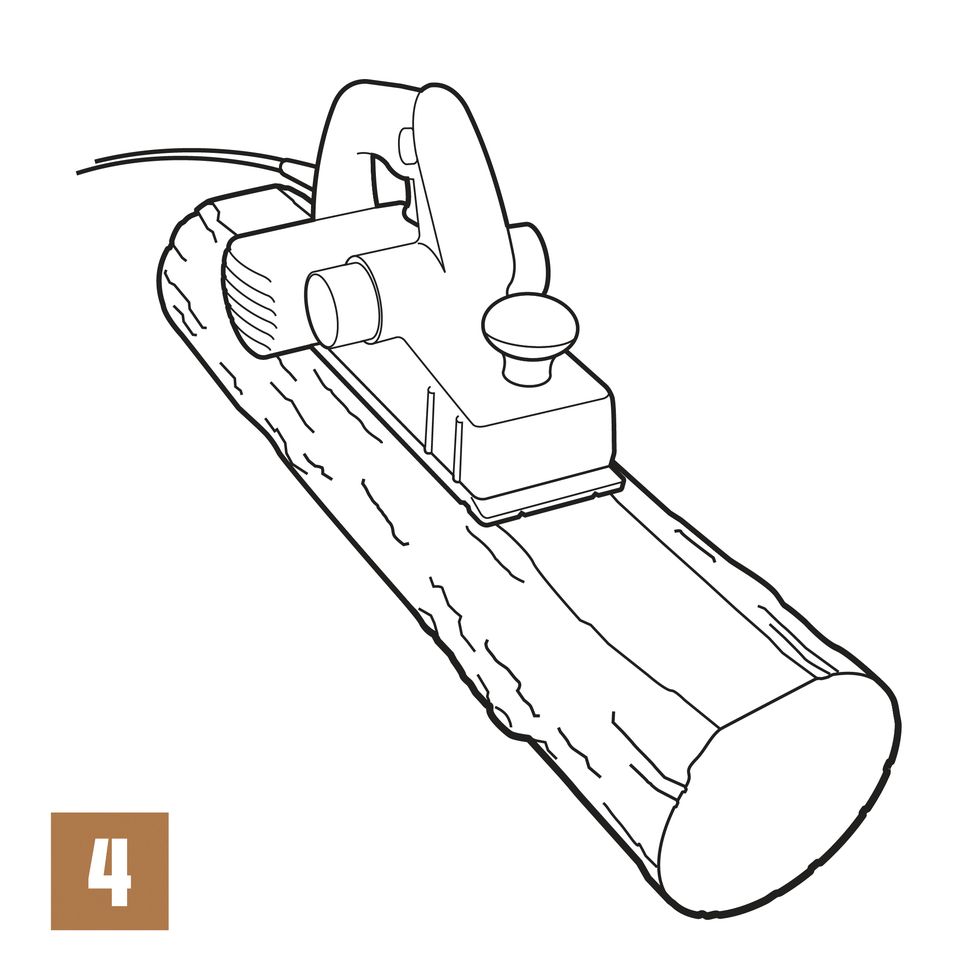
Debark two logs with a putty knife if the wood is seasoned, or a drawknife if the logs are green. Use a power plane to flatten the bottom of the logs [4]. You'll take off about ½ inch of wood. Sand the logs with 60-, 80-, and then 100-grit paper.
💡 We used a power plane to give our logs a flat base, but if the logs are smooth and of a consistent diameter, you can also feed them through a small benchtop planer.
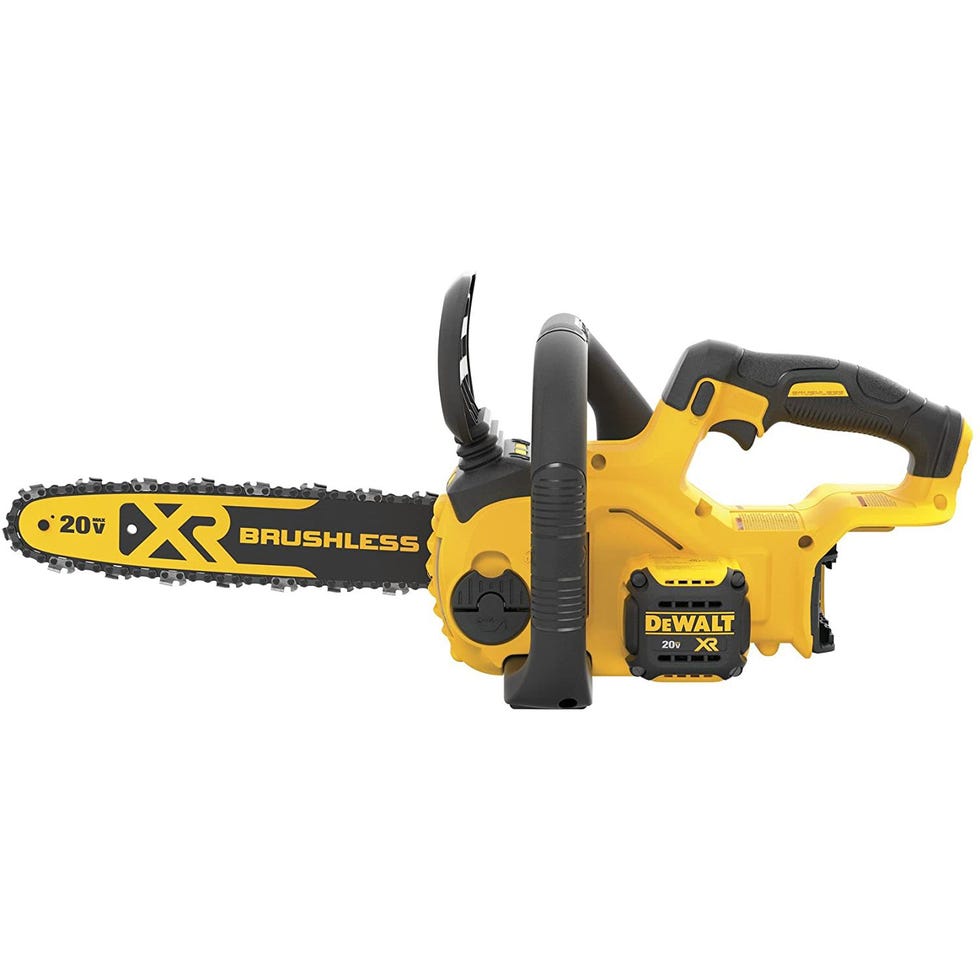
Mark the place where the U-shaped uprights will sit on the logs, and notch the logs with a chainsaw or a large chisel; then smooth out the notches with a chisel or a wood rasp, if you own one. Where the rack meets the logs, mark the position for one 5/16-inch hole in each U-shaped upright for a ¼ x 3–inch Spax lag screw. Drill each hole. Test-fit the rack to the notched logs and adjust the notches if needed. When everything fits, disassemble the rack.
Finish and Assemble the Holder
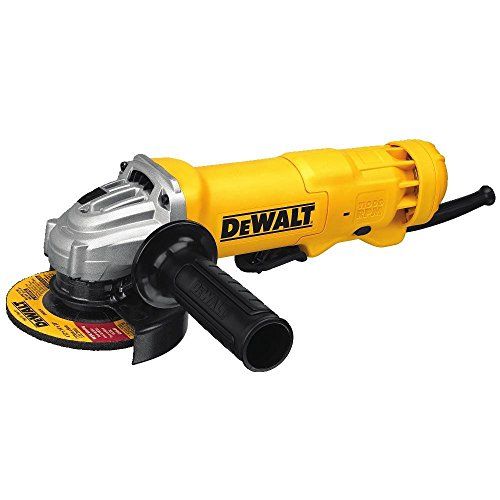
Apply a coat of Rust-Oleum pre-stain wood conditioner to the logs. When that's dry, brush on a coat of wood stain. We used Rust-Oleum's Kona shade. Grind the metal parts smooth using sanding discs and an angle grinder. Start with 24-grit and work through 36-, 40-, 60-, and 80-grit. If you want a polished look, do the final sanding with 100-grit.
Finally, bolt the metal rack together and firmly tighten the machine screws. Grind the screws flush on the inside of the rack with a 24-grit disc and smooth off any rough areas. Use the lag screws to connect the rack to the finished logs. There you have it—a new log rack.

